

Yes, you can absolutely make delicious, healthy juice with just a blender! It’s a quick and easy way to boost your nutrient intake with fresh fruits and vegetables, even if you don’t own a fancy juicer.
Key Takeaways
- Blend whole fruits and veggies for maximum nutrients.
- Add liquid to help your blender process ingredients smoothly.
- Strain for a pulp-free juice, or enjoy the fiber.
- Experiment with endless flavor combinations for healthy drinks.
- Clean your blender immediately for easy maintenance.
- Enjoy fresh, homemade juice in minutes.
How to Make Juice with a Blender: Quick & Healthy
Are you looking for a simple way to get more vitamins and minerals into your day? Making fresh juice at home sounds great, but you might think you need a special, expensive juicer. That’s not always true! You can easily make healthy, delicious juice using just your kitchen blender. It’s a fantastic method for beginners. We’ll guide you through every step. Get ready to transform your favorite produce into vibrant, energizing drinks right in your own kitchen. Let’s start blending!
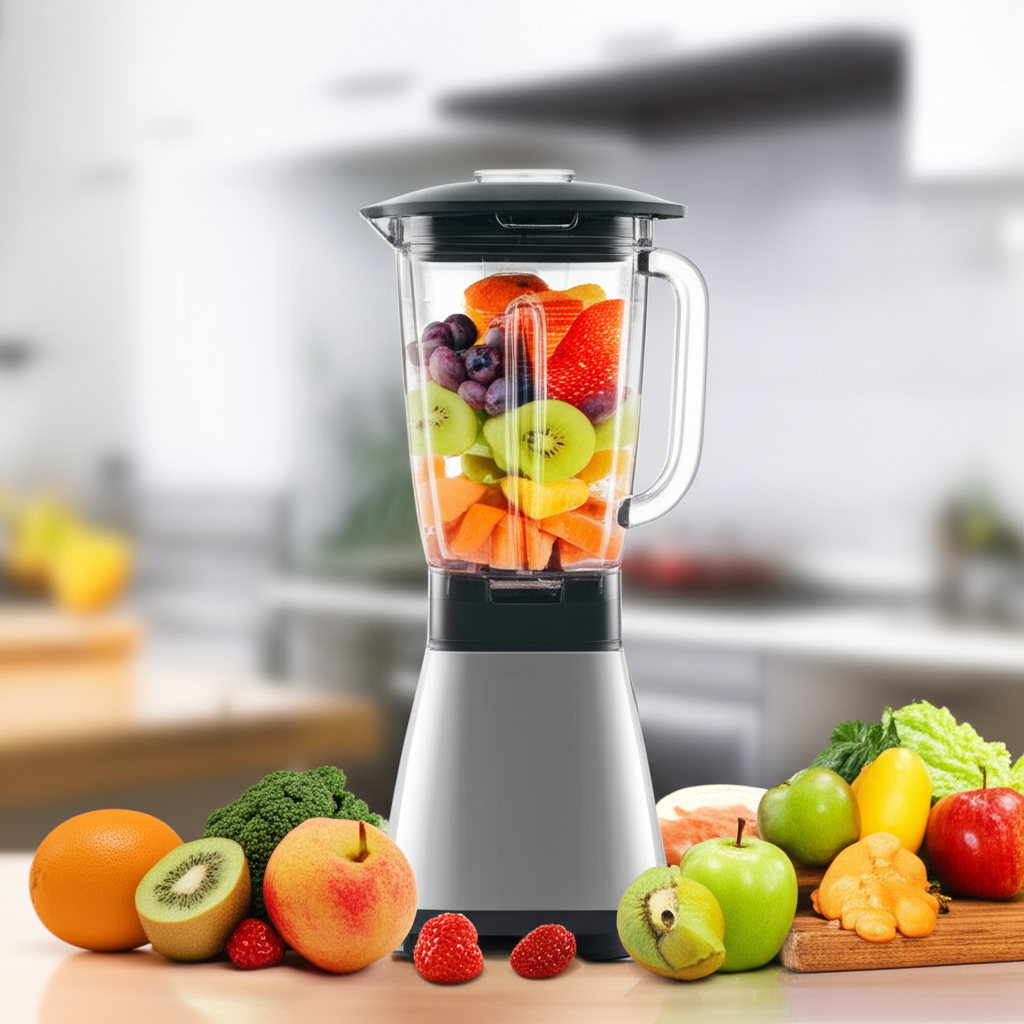
Why Use a Blender for Juice?
Many people think juicers are the only way to make juice. While juicers are designed to extract liquid from produce, a blender can do a surprisingly good job. The main difference is that a blender breaks down the entire fruit or vegetable, including the fiber. This means blender juice is technically more like a smoothie. However, with a simple straining step, you can achieve a juice-like consistency. This method is incredibly accessible because most households already own a blender.
Using a blender offers several advantages:
- Accessibility: Blenders are common kitchen appliances.
- Nutrient Retention: You consume the whole fruit or vegetable, retaining more fiber and nutrients.
- Versatility: You can easily make smoothies, soups, sauces, and more with the same appliance.
- Cost-Effective: No need to buy a separate, often expensive, juicer.
- Ease of Cleaning: Often simpler to clean than a juicer.
Essential Tools for Blender Juicing
Before you start, gather these simple tools. You likely have most of them already:
- Blender: Any standard kitchen blender will work. A high-powered blender will create a smoother result, but it’s not required.
- Knife and Cutting Board: For preparing your fruits and vegetables.
- Measuring Cups and Spoons: For precise ingredient amounts.
- Strainer (Optional): A fine-mesh sieve or nut milk bag is essential if you prefer pulp-free juice.
- Bowl: To strain the juice into.
- Storage Container: A glass jar or bottle for your finished juice.
Step-by-Step Guide: How to Make Juice with a Blender
Making juice with a blender is a straightforward process. Follow these simple steps:
Step 1: Choose Your Produce
The foundation of great juice is fresh, high-quality produce. You can use a wide variety of fruits and vegetables. For beginners, it’s best to start with ingredients that blend easily and have high water content.
Great Produce Options for Blender Juice:
| Category | Examples | Why They’re Great |
|---|---|---|
| Fruits | Apples, oranges, berries (strawberries, blueberries, raspberries), grapes, pineapple, melon (watermelon, cantaloupe), kiwi | Naturally sweet, high water content, blend easily, packed with vitamins. |
| Vegetables | Cucumber, celery, spinach, kale (stems removed), carrots, beets (cooked or finely grated), ginger, lemon, lime | Add nutrients without too much sweetness, provide vibrant color, offer a refreshing taste. |
| Herbs | Mint, parsley, cilantro | Add a fresh, invigorating flavor boost. |
When selecting produce, opt for ripe, fresh items. Wash everything thoroughly before you begin. For tougher items like carrots or beets, consider chopping them into smaller pieces, or even pre-cooking beets to make blending easier.
Step 2: Prepare Your Ingredients
Proper preparation ensures smooth blending and the best juice texture. Wash all produce under cool running water. Remove any tough stems, seeds, or cores that might make your juice bitter or difficult to blend. For citrus fruits like oranges or lemons, you can peel them, but it’s often fine to leave the rind on if you have a powerful blender, as it contains beneficial oils and nutrients. However, be aware that citrus rind can add a bitter note to your juice.
- Fruits: Core apples, hull strawberries, peel oranges (optional).
- Vegetables: Wash celery and cucumber, trim ends. Wash spinach and kale. If using kale, remove the tough central stem. Peel ginger and lemon/lime if desired.
- Herbs: Wash and roughly chop.
Chop larger ingredients into chunks that your blender can handle easily. Smaller pieces will blend more effectively, leading to a smoother final product.
Step 3: Add Liquid
This is a crucial step for blender juicing. A blender needs liquid to effectively break down ingredients and create a smooth mixture. Without enough liquid, your blender might struggle, and you’ll end up with a thick, chunky paste rather than juice.
Recommended Liquids:
- Water: The simplest and most neutral option.
- Coconut Water: Adds electrolytes and a subtle sweetness.
- Unsweetened Plant-Based Milk: Almond, soy, or oat milk can add creaminess and nutrients.
- The Juice of High-Water Content Fruits: Like oranges or watermelon, can be added to help the blend.
Start with about 1/2 to 1 cup of liquid for every 1-2 cups of solid produce. You can always add more if needed to achieve your desired consistency.
Step 4: Blend Until Smooth
Add your prepared fruits, vegetables, and liquid to the blender. Secure the lid tightly. Start blending on a low speed, then gradually increase to high. Blend for 30 seconds to 2 minutes, depending on your blender’s power and the ingredients you’re using. You want the mixture to be as smooth as possible, with no large chunks remaining.
If your blender is struggling, stop it, add a little more liquid, and then continue blending. Scrape down the sides of the blender jar with a spatula if necessary.
Step 5: Strain (Optional)
This is the step that transforms your blended mixture into juice. If you prefer a pulp-free, smooth drink, you’ll need to strain it.
How to Strain:
- Place a fine-mesh sieve or a nut milk bag over a large bowl or pitcher.
- Carefully pour the blended mixture into the sieve or bag.
- If using a sieve, use a spoon or spatula to press the liquid through, leaving the pulp behind.
- If using a nut milk bag, gather the top and gently squeeze the juice out into the bowl.
The pulp left behind is still full of fiber and nutrients. You can discard it, compost it, or use it in other recipes like muffins, crackers, or veggie burgers. For a thicker, smoothie-like drink, you can skip this straining step entirely!
Step 6: Serve and Enjoy!
Pour your freshly made juice into a glass. For the best taste and nutrient absorption, drink it immediately. Fresh juice is best enjoyed within 24 hours. If you need to store it, pour it into an airtight glass container and keep it refrigerated.
Pro Tip: For an extra boost, add a few ice cubes to your blender before blending for a colder, more refreshing juice. You can also add superfoods like chia seeds, flax seeds, or a scoop of protein powder for added nutrition.
Quick & Healthy Blender Juice Recipes for Beginners
Starting with simple, delicious recipes is key to building confidence. These recipes are designed for ease and great flavor.
1. The “Green Beginner” Juice
This is a gentle introduction to green juices. The apple and cucumber provide sweetness and hydration, while spinach adds nutrients without an overpowering taste.
- 1 cup chopped cucumber
- 1 cup spinach
- 1 medium apple, cored and chopped
- 1/2 cup water or coconut water
- Juice of 1/2 lemon (optional, for brightness)
Instructions: Combine all ingredients in the blender. Blend until smooth. Strain if desired. Serve immediately.
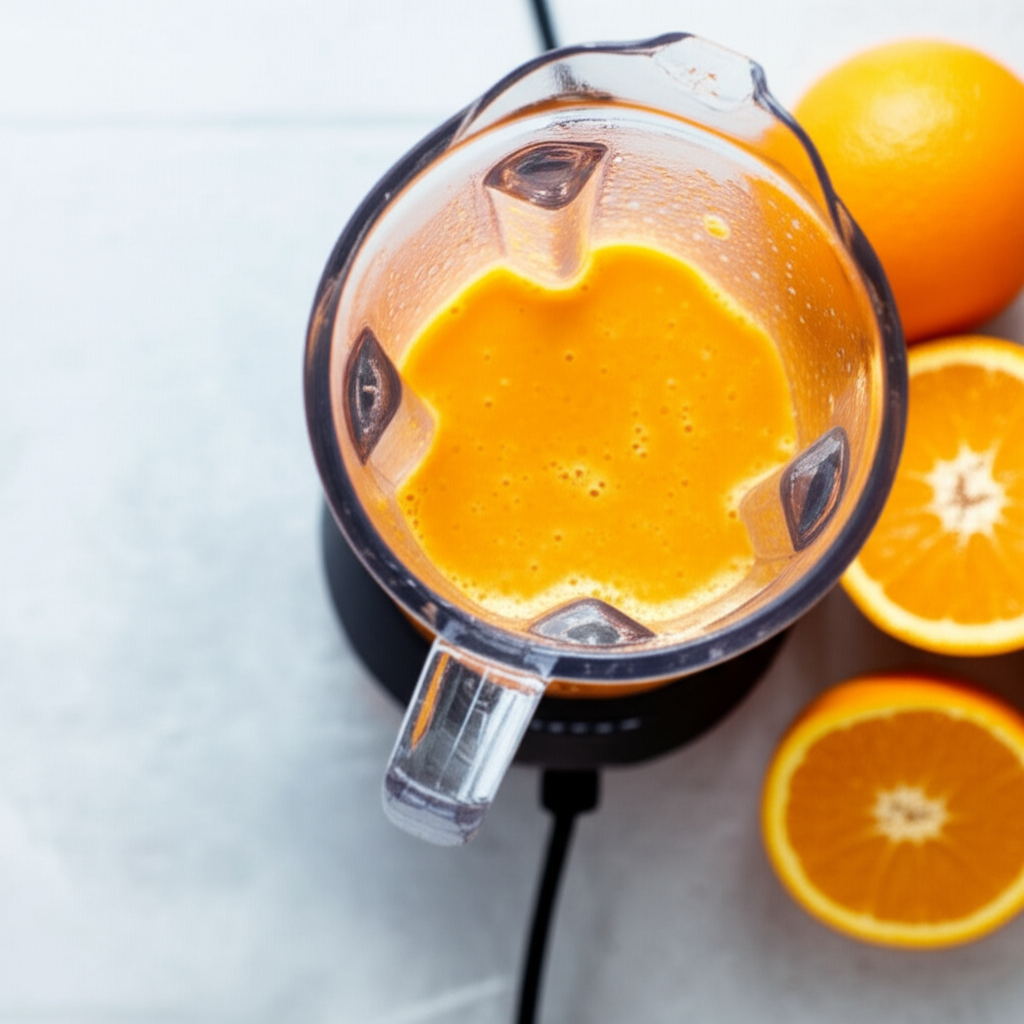
2. The “Sunshine Citrus” Juice
A vibrant, vitamin C-packed juice that’s refreshing and invigorating. Oranges provide sweetness, while carrots add a touch of earthiness and beta-carotene.
- 2 medium oranges, peeled
- 1 medium carrot, chopped
- 1/2 inch fresh ginger, peeled
- 1/2 cup water
Instructions: Place all ingredients in the blender. Blend until smooth. Strain if desired. Enjoy this burst of sunshine!
3. The “Berry Bliss” Juice
This colorful juice is packed with antioxidants from berries. It’s naturally sweet and a great way to get a dose of vitamins.
- 1 cup mixed berries (fresh or frozen)
- 1/2 cup grapes
- 1/4 cup water or plant-based milk
- 1 tablespoon chia seeds (optional, for thickness and omega-3s)
Instructions: Combine all ingredients in the blender. Blend until smooth. If using frozen berries, you may need a little extra liquid. Strain if desired for a thinner juice.
Customizing Your Blender Juice
Once you’re comfortable with the basic steps, don’t be afraid to get creative! The beauty of blender juicing is its flexibility.
Flavor Combinations to Try:
- Tropical Twist: Pineapple, mango, a squeeze of lime.
- Root Power: Beet, carrot, apple, ginger.
- Cooling Cucumber Mint: Cucumber, green apple, mint leaves, lime.
- Sweet & Tart: Strawberries, kiwi, orange.
Adding Boosters:
You can enhance the nutritional profile of your juice with these additions:
- Healthy Fats: Avocado (makes it creamier), flax seeds, chia seeds.
- Protein: Protein powder, Greek yogurt (if not vegan).
- Superfoods: Spirulina, turmeric, acai powder.
- Sweeteners (use sparingly): A touch of honey, maple syrup, or a date.
Tips for the Best Blender Juice
Here are some extra tips to ensure your blender juicing experience is a success:
- Start with Greens: For green juices, add leafy greens like spinach or kale first, then layer other ingredients on top. This helps them get blended more effectively.
- Don’t Overfill: Avoid filling your blender jar past the maximum fill line, as this can strain the motor.
- Use Ripe Produce: Ripe fruits and vegetables are easier to blend and taste sweeter.
- Adjust Consistency: If your juice is too thick, add more liquid. If it’s too thin, add more fruits or vegetables.
- Taste and Adjust: Always taste your juice before serving and adjust flavors as needed. Add more sweetness, tartness, or spice.
Blender Juice vs. Juicer Juice: What’s the Difference?
It’s helpful to understand the distinctions between juice made in a blender and juice made with a traditional juicer. Both have their merits.
| Feature | Blender Juice | Juicer Juice |
|---|---|---|
| Pulp Content | High (unless strained); contains fiber. | Low to none; fiber is separated. |
| Nutrient Profile | Contains all nutrients, including fiber. May have slightly lower bioavailability of some nutrients due to fiber. | Concentrated liquid nutrients. Fiber is removed. |
| Texture | Smoothie-like (if not strained) or juice-like (if strained). | Smooth, liquid consistency. |
| Preparation Time | Generally quicker for simple recipes. | Can be quicker for large batches of certain produce. |
| Equipment Needed | Standard blender. | Dedicated juicer (centrifugal, masticating, or twin-gear). |
| Ease of Cleaning | Usually easier, especially if cleaned immediately. | Can be time-consuming due to multiple parts. |
| Cost | Lower initial investment if you already own a blender. | Higher initial investment for a juicer. |
For those prioritizing convenience and a full spectrum of nutrients (including fiber), blender juice is an excellent choice. If you’re seeking a pure, concentrated liquid extract with zero pulp, a juicer might be a better fit. However, for everyday healthy drinking, a blender is perfectly capable. The Dietary Guidelines for Americans recommend consuming a variety of fruits and vegetables, and blender juice is a fantastic way to meet those recommendations.
Troubleshooting Common Blender Juicing Issues
Even with simple recipes, you might run into a few snags. Here’s how to fix them:
- Issue: Juice is too thick.
Solution: Add more liquid (water, coconut water, etc.) and blend again until the desired consistency is reached. - Issue: Juice is too thin.
Solution: Add more fruits or vegetables, or a thickening agent like chia seeds or a small piece of avocado, and re-blend. - Issue: Blender is struggling or not blending smoothly.
Solution: Stop the blender, add more liquid, and ensure ingredients are chopped into smaller pieces. If using a less powerful blender, you might need to blend in batches. - Issue: Juice tastes bitter.
Solution: This can happen with certain vegetables or rinds. Add a sweeter fruit like apple or banana, or a touch of natural sweetener. Ensure you’ve removed bitter elements like tough kale stems.
Frequently Asked Questions (FAQ)
Q1: Can I really make juice with any blender?
Yes, you can! While a high-powered blender will give you a smoother result, even a standard blender can create a delicious juice. You might just need to blend for a bit longer and ensure you add enough liquid. If you prefer a very smooth juice, straining is key.
Q2: What is the difference between blender juice and a smoothie?
The main difference is pulp and texture. A smoothie typically includes all the fiber from the fruits and vegetables, often blended with yogurt, milk, or ice, resulting in a thicker drink. Blender juice, when strained, removes most of the fiber for a thinner, juice-like consistency. If you don’t strain it, it’s essentially a whole-food smoothie.
Q3: How long does blender juice last?
Freshly made juice is best consumed immediately for optimal taste and nutrient content. If you need to store it, keep it in an airtight glass container in the refrigerator. It’s generally recommended to drink it within 24 hours. The nutrient content will start to degrade after that.
Q4: Can I use frozen fruits or vegetables?
Absolutely! Frozen fruits and vegetables work very well in blender juice. They can help make your juice colder and thicker. You might need to add a little extra liquid to help the blender process them smoothly.
Q5: Do I have to strain my blender juice?
No, you don’t have to! If you don’t mind a bit of pulp or prefer a thicker, smoothie-like consistency, you can skip the straining step. The pulp contains valuable fiber, which is beneficial for digestion and overall health. For example, the USDA National Agricultural Library highlights the importance of dietary fiber.
Q6: How much juice can I make from a certain amount of produce?
This varies greatly depending on the produce used. High-water-content items like watermelon, cucumber, and oranges yield more juice than drier items like bananas or apples. As a general guideline, you might get about 1 cup of juice from 1-2 cups of chopped fruits and vegetables, plus your added liquid. Experimenting with your favorite combinations will help you learn yields.
Q7: Is blender juice as healthy as juicer juice?
Both blender juice and juicer juice offer nutritional benefits. Blender juice retains all the fiber, which is great for satiety and digestion. Juicer juice provides a concentrated dose of vitamins and minerals without the fiber. The “healthiest” option often depends on your personal dietary goals and preferences. The key is using fresh, whole ingredients.
Conclusion
Making fresh juice with a blender is a simple, accessible, and incredibly healthy way to incorporate more fruits and vegetables into your diet. You don’t need fancy equipment to start enjoying vibrant, nutrient-packed drinks. By following these steps, choosing your favorite ingredients, and perhaps a little experimentation, you can create delicious juices tailored to your taste and health goals. So, grab your blender, gather some fresh produce, and start blending your way to a healthier you!
smartblander.com is a participant in the Amazon Services LLC Associates Program, an affiliate advertising program. As an Amazon Associate, we earn from qualifying purchases made through our links.