

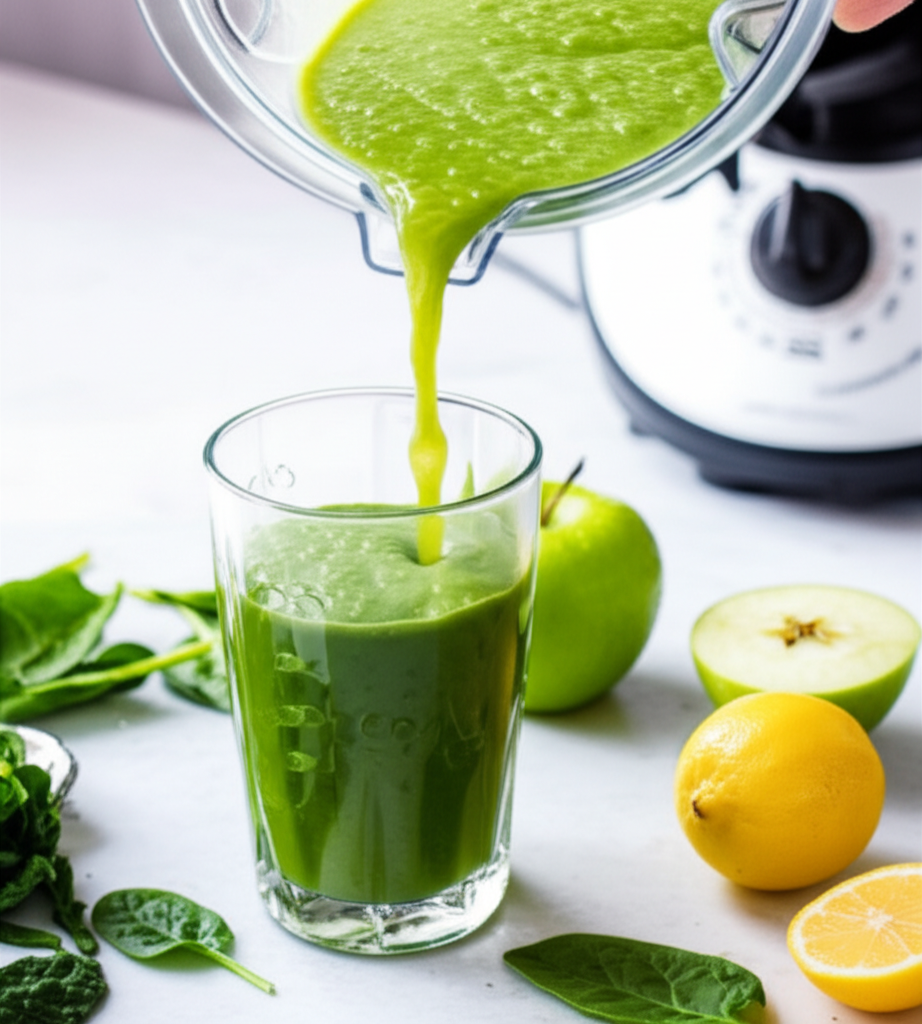
Yes, you can make delicious, nutrient-rich juice using just your blender! The best quick method involves blending fruits and vegetables with a little water, then straining the pulp to get a smooth, refreshing juice. It’s surprisingly easy and a fantastic way to boost your daily intake of vitamins and minerals.
Key Takeaways
- Blend produce with minimal liquid for easier straining.
- Strain thoroughly using a fine-mesh sieve or nut milk bag.
- Prioritize high-water-content fruits and vegetables.
- Add citrus for brightness and preservation.
- Clean your blender immediately for easier maintenance.
- Experiment with flavor combinations for endless variety.
How to Juice Using a Blender: The Best Quick Method for Beginners
Many people think you need a fancy juicer to enjoy fresh, homemade juice. That’s not always true! If you have a blender, you already have a powerful tool that can help you create delicious, healthy beverages. It’s a common question for beginners: “how to juice using a blender?” This guide will walk you through the simplest, quickest way to get that fresh juice goodness, even if you’ve never done it before.
You might be wondering if it’s really possible to get juice from a blender without all the pulp. The answer is a resounding yes! We’ll show you how to achieve a smooth, pulp-free juice with just a few common kitchen tools. Get ready to transform your fruits and vegetables into vibrant, revitalizing drinks right in your own kitchen. Let’s dive into the best quick method to juice using a blender.
Why Juice with a Blender?
Juicing is a fantastic way to consume a concentrated dose of nutrients from fruits and vegetables. While traditional juicers excel at separating juice from pulp, a blender offers a more accessible and versatile alternative. If you already own a blender, you can start making juice immediately without an additional appliance. This method is particularly appealing for beginners due to its simplicity and the minimal equipment required. Plus, it’s incredibly quick once you get the hang of it!
Using a blender for juicing also means you can easily make smoothies, which retain the fiber that juicers discard. However, for those specifically seeking juice, the blender method, followed by straining, provides a satisfying result. It’s a great way to reduce food waste, as the leftover pulp can often be repurposed in other recipes. This approach democratizes healthy eating, making fresh juice achievable for everyone.
What You’ll Need: Essential Tools for Blender Juicing
Before you start, gather these basic items. Having everything ready makes the process smooth and efficient, especially when you’re learning how to juice using a blender for the first time.
The Blender Itself
Almost any blender will work, from a personal-sized bullet blender to a high-powered countertop model. The key is that it can pulverize fruits and vegetables effectively. For tougher ingredients like carrots or fibrous greens, a more powerful blender will yield a smoother result and make straining easier. If you’re using a less powerful blender, consider chopping ingredients into smaller pieces.
Straining Tools
This is where you separate the liquid goodness from the fibrous pulp. You have a few excellent options:
- Fine-Mesh Sieve: This is a common kitchen tool. You’ll want one with small holes to catch most of the pulp. Place it over a bowl or jug.
- Nut Milk Bag: These are specifically designed for straining. Made of porous fabric, they are highly effective at yielding smooth juice. They are reusable and easy to clean.
- Cheesecloth: If you have cheesecloth, you can line a sieve with a few layers for extra fine straining.
Bowls and Containers
You’ll need a large bowl to catch the juice as you strain it. Have another container or pitcher ready to store your finished juice.
Cutting Board and Knife
For preparing your fruits and vegetables. Ensure they are washed thoroughly.
Choosing Your Produce: Best Fruits and Vegetables for Blender Juicing
Not all produce is created equal when it comes to blending and straining. Some ingredients release more juice and are easier to work with. Aim for a mix of hydrating fruits and vegetables for the best flavor and yield.
High-Water Content Champions
These are your go-to ingredients for maximum juice extraction:
- Cucumber: Very hydrating and has a mild flavor that blends well with almost anything.
- Celery: Another watery vegetable that adds a subtle salty note.
- Watermelon: Exceptionally high in water content and naturally sweet.
- Oranges: Provide a juicy base and a delicious citrus flavor.
- Pineapple: Sweet, tangy, and full of juice.
- Apples: Crisp apples are juicy and add natural sweetness.
Adding Flavor and Nutrients
These can be added in moderation to enhance your juice:
- Carrots: Offer sweetness and a vibrant color. They are tougher, so a powerful blender is helpful.
- Beets: Earthy and nutrient-dense, they lend a beautiful deep red color. Cooked beets are easier to blend and strain.
- Leafy Greens (Spinach, Kale): Packed with vitamins, but can add a strong flavor and may require more straining effort. Blend them with juicier ingredients.
- Ginger: A small piece adds a spicy kick and health benefits.
- Lemon/Lime: A squeeze adds brightness and helps preserve the juice.
What to Be Cautious With
Some ingredients are difficult to juice effectively with a blender:
- Bananas: Too starchy and will create a smoothie, not juice.
- Avocado: Creates a creamy texture, not a liquid juice.
- Berries (small seeds): The tiny seeds can be hard to strain out completely.
The Best Quick Method: Step-by-Step Guide
Follow these simple steps to master how to juice using a blender. This method is designed for speed and ease, perfect for busy mornings or a quick health boost.
Step 1: Prepare Your Produce
Wash all fruits and vegetables thoroughly. Remove any large pits or seeds (like from peaches or plums). For tougher items like carrots or beets, chop them into smaller, manageable pieces. If using leafy greens, you can roughly chop them too.
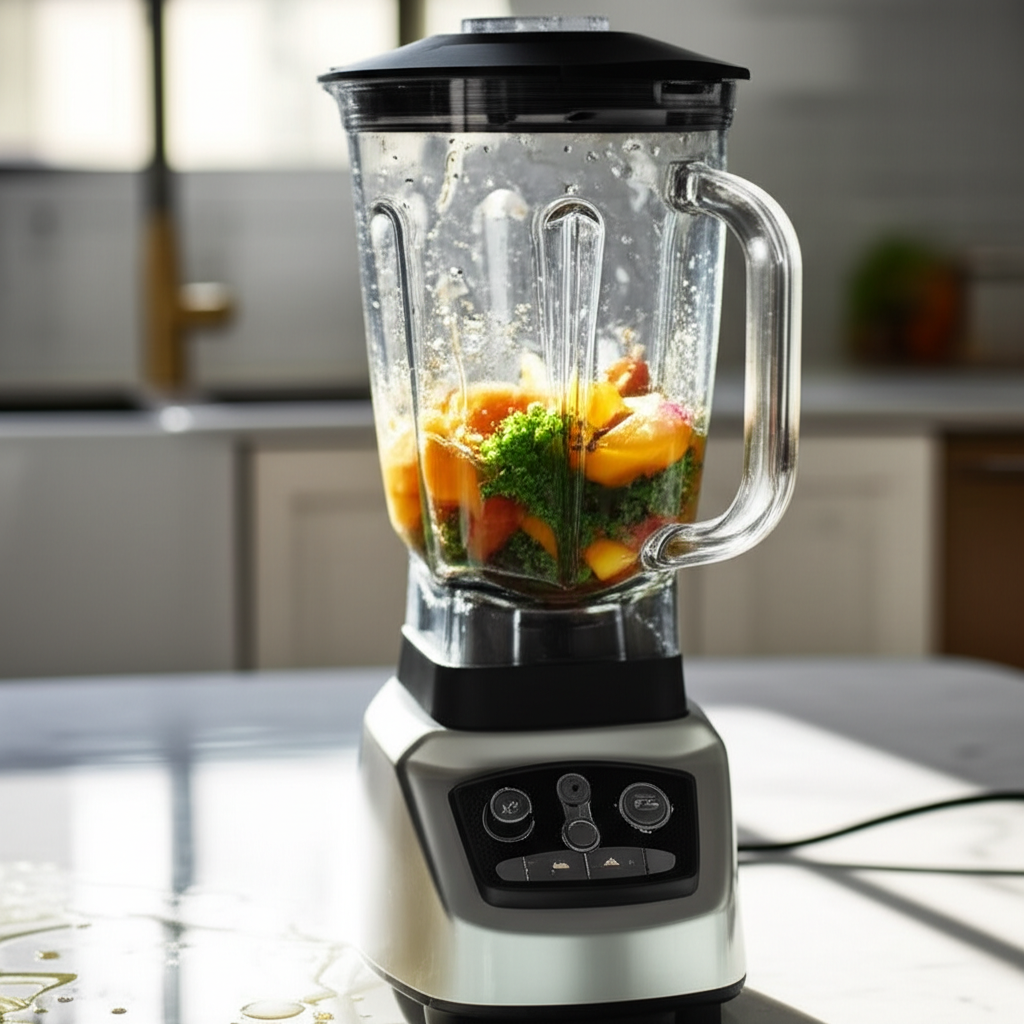
Step 2: Blend the Ingredients
Add your prepared fruits and vegetables to the blender. Start with the juicier, softer ingredients at the bottom. Add a small amount of water – about 1/4 to 1/2 cup per 2 cups of produce. You want just enough liquid to help the blades catch and blend everything smoothly. Avoid adding too much water, as this will make straining more difficult and dilute the flavor.
Secure the lid and blend on high speed until the mixture is as smooth as possible. This might take 30 seconds to 2 minutes, depending on your blender’s power and the ingredients used. You’re aiming for a liquid consistency with very fine particles.
Step 3: Strain the Juice
Place your fine-mesh sieve or nut milk bag over a large bowl or jug. If using a sieve, you might want to line it with a couple of layers of cheesecloth for extra fine straining.
Carefully pour the blended mixture into the sieve or nut milk bag. If using a nut milk bag, gather the top and gently squeeze the liquid into the bowl. If using a sieve, use the back of a spoon to press down on the solids, encouraging the juice to pass through. Work in batches if necessary.
Step 4: Collect and Serve
Continue straining until you’ve extracted as much liquid as possible. You should be left with smooth juice in the bowl and pulp in the sieve or bag. Discard the pulp or save it for other uses (see Pro Tips below!).
Pour your fresh juice into a glass and enjoy immediately for the best flavor and nutrient content. You can add a squeeze of lemon or lime for extra zest.
Step 5: Clean Up
Rinse your blender, sieve, and any containers immediately after use. This prevents pulp from drying and becoming difficult to remove, making cleanup a breeze.
Sample Blender Juice Recipes for Beginners
Here are a few simple recipes to get you started. These are designed for ease and deliciousness, perfect for anyone learning how to juice using a blender.
1. The Refreshing Cucumber Cooler
This is incredibly hydrating and mild, perfect for a hot day.
- 1 large cucumber, chopped
- 1 green apple, cored and chopped
- Juice of 1/2 lemon
- 1/4 cup water
Instructions: Blend all ingredients until smooth. Strain as directed above. Serve chilled.
2. Sweet Carrot Orange Zinger
A classic combination that’s both sweet and packed with Vitamin C.
- 2 medium carrots, chopped
- 1 large orange, peeled and segmented
- 1-inch piece of fresh ginger, peeled
- 1/4 cup water
Instructions: Blend all ingredients until smooth. Strain well. Add a splash more water if it’s too thick. Enjoy!
3. Watermelon Mint Refresher
Ultimate hydration with a hint of mint.
- 2 cups seedless watermelon, cubed
- 1/4 cup fresh mint leaves
- Juice of 1/2 lime
- Optional: A few ice cubes
Instructions: Blend watermelon, mint, and lime juice until smooth. Strain if desired, though watermelon is often very smooth on its own. Serve immediately.
Comparing Blender Juicing to Traditional Juicers
While learning how to juice using a blender is a great starting point, it’s helpful to understand how it compares to dedicated juicing appliances. Each method has its pros and cons.
| Feature | Blender Juicing Method | Traditional Juicer (Centrifugal/Masticating) |
|---|---|---|
| Initial Cost | Low (if you already own a blender) | Moderate to High |
| Ease of Use | Beginner-friendly, requires an extra straining step. | Generally straightforward, but setup and cleanup can vary. |
| Juice Quality (Smoothness) | Can achieve very smooth juice with good straining. | Excellent, designed for maximum juice extraction. |
| Nutrient Retention | Good; some nutrients may be lost in pulp. | Excellent; some studies suggest masticating juicers preserve nutrients better due to lower heat. See this study on nutrient degradation. |
| Pulp Management | Pulp is separated and can be used elsewhere. | Pulp is automatically ejected and discarded. |
| Versatility | Blender can also make smoothies, soups, sauces. | Primarily for juicing. |
| Time Commitment | Quick blending, requires manual straining and cleanup. | Juicing is fast; cleanup time varies by model. |
For those just starting or on a budget, the blender method is an excellent entry point. If you become a serious juicing enthusiast, investing in a dedicated juicer might be worth considering for the ultimate efficiency and juice quality.
Pro Tips for Perfect Blender Juice
Elevate your blender juicing game with these insider tips:
- Use Frozen Fruit: For a thicker, colder juice or smoothie-like consistency, add some frozen fruits like berries or mango to your blender mix.
- Pulp Power: Don’t toss that pulp! It’s rich in fiber and can be added to baked goods (muffins, bread), veggie burgers, soups, or even composted.
- Citrus First: Always add a squeeze of lemon or lime to your juice. It not only brightens the flavor but also acts as a natural preservative, helping your juice last a little longer in the fridge.
- Hydration is Key: For the best results when learning how to juice using a blender, start with produce that has a high water content. Think cucumber, watermelon, and celery.
- Cold Ingredients = Cold Juice: Use chilled water and refrigerated produce to get a colder juice without diluting it with ice.
Troubleshooting Common Blender Juicing Issues
Even with the best method, you might encounter a few hiccups. Here’s how to solve them:
Issue: Juice is too thick or has too much pulp.
Solution: You likely didn’t add enough water, or your straining wasn’t thorough enough. Add a little more water to your blended mixture and strain again. For pulp, press harder with your spoon or squeeze your nut milk bag more vigorously. You can also re-blend the strained mixture with a touch more water and strain a second time.
Issue: Blender isn’t blending smoothly.
Solution: Your blender might be overloaded, or you need more liquid. Try blending in smaller batches. Add a bit more water (start with 1/4 cup) to help the blades move freely. Ensure you’ve chopped tougher ingredients into smaller pieces.
Issue: Ingredients are getting stuck.
Solution: This is common with fibrous greens like kale or tough roots like beets. Try blending them with softer, juicier ingredients first, or pulse the blender a few times to break them down before blending continuously. A tamper, if your blender has one, can also help push ingredients down towards the blades.
Issue: The juice tastes bland.
Solution: Blandness often comes from a lack of acidity or sweetness. Add more citrus (lemon, lime, orange), a touch of honey or maple syrup if desired, or a small piece of ginger for a flavor boost. Experiment with adding sweeter fruits like apples or pineapple.
Frequently Asked Questions About Blender Juicing
Q1: Can I really get pulp-free juice from a blender?
A1: Yes! With thorough straining using a fine-mesh sieve or nut milk bag, you can achieve a very smooth, pulp-free juice. It requires a bit of patience during the straining process.
Q2: How much water should I add when I juice using a blender?
A2: Start with a small amount, about 1/4 to 1/2 cup of water for every 2 cups of produce. You need just enough to help the blender blades work. Too much water will make the juice watery and harder to strain effectively.
Q3: How long does blender-made juice last?
A3: Freshly made juice is best consumed immediately for maximum nutrients. However, if stored in an airtight container in the refrigerator, it can last for 24-48 hours. Adding citrus juice helps preserve it slightly longer.
Q4: What kind of blender is best for juicing?
A4: Any blender can work, but high-powered blenders (like Vitamix or Blendtec) will create a smoother mixture, making the straining process easier and yielding better results. Personal blenders (bullet-style) are also effective for single servings.
Q5: Can I juice fibrous vegetables like celery and kale in a blender?
A5: Yes, you can. For celery, chop it well and blend with juicier fruits. For kale, remove the tough stems and blend the leaves with other ingredients. Thorough straining is essential for these fibrous items.
Q6: What can I do with the leftover pulp?
A6: The pulp is full of fiber! You can add it to muffins, pancakes, bread, smoothies, or even use it as a base for veggie burgers or to enrich compost for your garden. See our Pro Tips section for more ideas.
Conclusion
Learning how to juice using a blender is a simple, cost-effective, and rewarding way to incorporate more fresh fruits and vegetables into your diet. By following this quick method, you can transform everyday produce into delicious, revitalizing drinks with minimal fuss. Remember to choose high-water-content ingredients, blend thoroughly, and strain patiently. Don’t be afraid to experiment with different combinations to discover your favorite flavors. Happy juicing!
smartblander.com is a participant in the Amazon Services LLC Associates Program, an affiliate advertising program. As an Amazon Associate, we earn from qualifying purchases made through our links.