

Yes, you can use a blender to grind coffee beans in a pinch, but it’s not ideal for consistently great coffee. While it works for a quick fix, a blender often produces uneven grounds, impacting flavor and brewing. We’ll explore why and offer better alternatives.
Key Takeaways
- Blend coffee beans for a quick grind.
- Expect inconsistent grind sizes.
- Clean your blender thoroughly after grinding.
- Consider dedicated coffee grinders for better results.
- Adjust blending time for desired coarseness.
- Avoid grinding oily beans in a blender.
Can You Use A Blender To Grind Coffee Beans: The Shocking Truth!
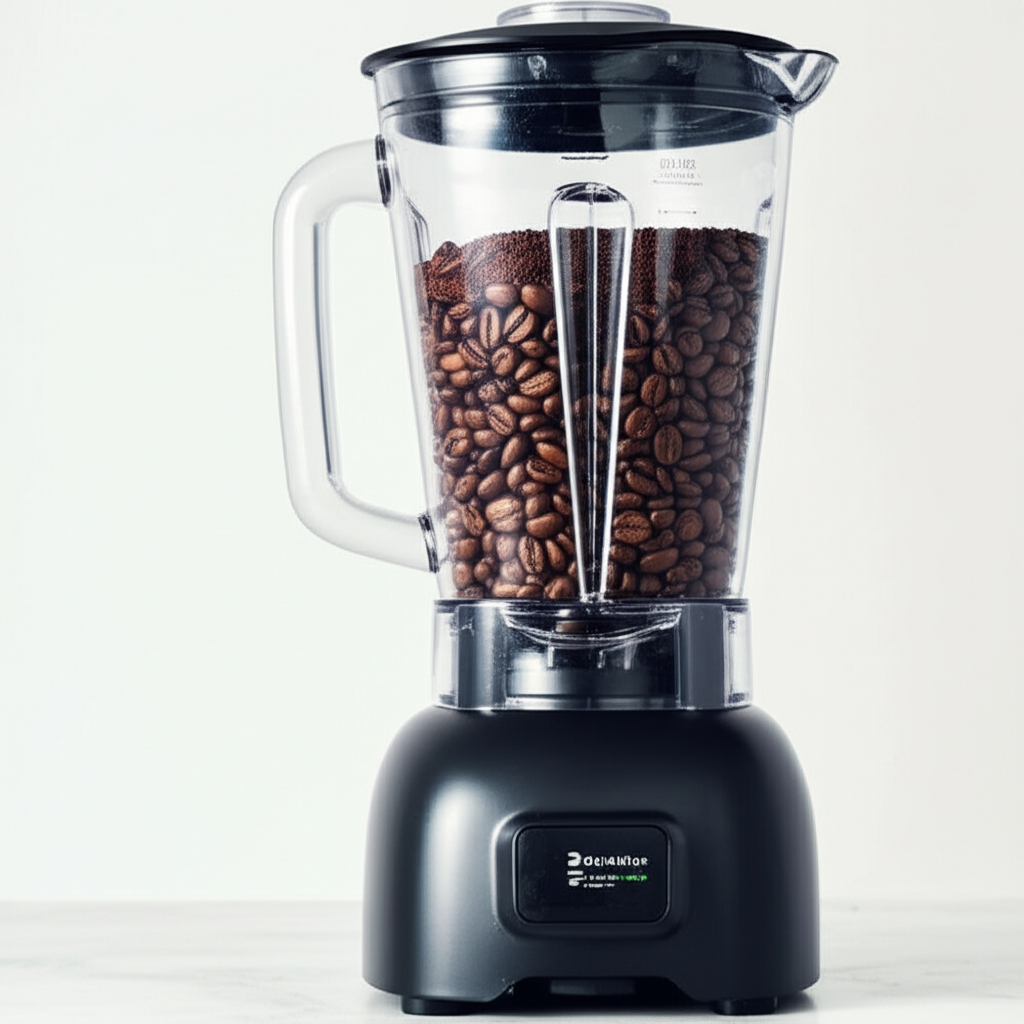
Ever stared at your whole coffee beans, a perfectly brewed cup just out of reach, only to realize your coffee grinder is missing or broken? It’s a common kitchen dilemma. You look at your trusty blender, a workhorse for smoothies and sauces, and wonder: can you use a blender to grind coffee beans? The answer is a resounding, yet nuanced, “yes.” But the real truth lies in understanding the consequences and limitations of this quick fix. This guide will walk you through exactly how to do it, what to expect, and why a dedicated grinder is usually the better choice for coffee lovers.
Why the Blender Temptation?
Your blender is a powerful appliance. Its sharp blades spin at high speeds, capable of pulverizing almost anything you throw into it. It seems like a natural extension of its capabilities to tackle those hard coffee beans. Many people have blenders but not dedicated coffee grinders, making it the most accessible tool. The desire for that fresh, just-ground coffee aroma and flavor can push even the most cautious home cook to experiment. But is this convenience worth the potential trade-off in coffee quality?
The Blender vs. The Coffee Grinder: What’s the Difference?
Before we dive into using your blender, let’s understand why coffee grinders are designed the way they are. Coffee grinders, whether blade or burr, are specifically engineered for one task: grinding coffee beans to a consistent size. This consistency is crucial for optimal flavor extraction during brewing.
Blade Grinders
These are similar in concept to a blender, using spinning blades to chop beans. However, they are designed for smaller batches and shorter bursts of activity. Their chopping action can still produce a range of particle sizes.
Burr Grinders
These grinders use two abrasive surfaces (burrs) that crush beans between them. This method produces a much more uniform grind size, which is why burr grinders are often preferred by coffee aficionados. The spacing between the burrs can usually be adjusted to achieve different grind sizes for various brewing methods.
Can You Use A Blender To Grind Coffee Beans? Yes, But Here’s How (and What to Expect)
If you’re in a bind and a blender is your only option, here’s how to get the job done. Remember, patience and short bursts are key.
Step-by-Step Guide to Grinding Coffee Beans in a Blender
- Gather Your Tools: You’ll need your blender, whole coffee beans, and a way to measure them. A clean, dry blender is essential.
- Measure Your Beans: Start with a small amount. A good starting point is enough beans to cover the bottom of the blender jar, usually around 1/4 to 1/2 cup. Overfilling will lead to uneven grinding and potential overheating.
- Secure the Lid: Make sure the blender lid is firmly in place. Coffee grounds can fly everywhere if it’s not sealed properly.
- Pulse, Don’t Continuous Blend: This is the most critical step. Instead of letting the blender run continuously, use the “pulse” function or short bursts of power (1-2 seconds at a time).
- Shake and Repeat: After each pulse, gently shake the blender jar to redistribute the beans. This helps ensure a more even grind. Repeat the pulsing and shaking process.
- Check the Grind: Periodically stop and check the consistency of the grounds. You’re aiming for a texture that suits your brewing method.
- Stop Before It’s Too Fine: Blenders can quickly turn coffee beans into powder. For most brewing methods (like drip coffee or pour-over), you want a coarser grind. Stop pulsing once you reach your desired consistency, even if some finer dust remains.
- Empty and Clean Immediately: Once ground, carefully pour the coffee into an airtight container. Clean your blender right away to prevent coffee oils from lingering and affecting the taste of future smoothies.
The Shocking Truth: Why Blender-Grind Coffee Isn’t Ideal
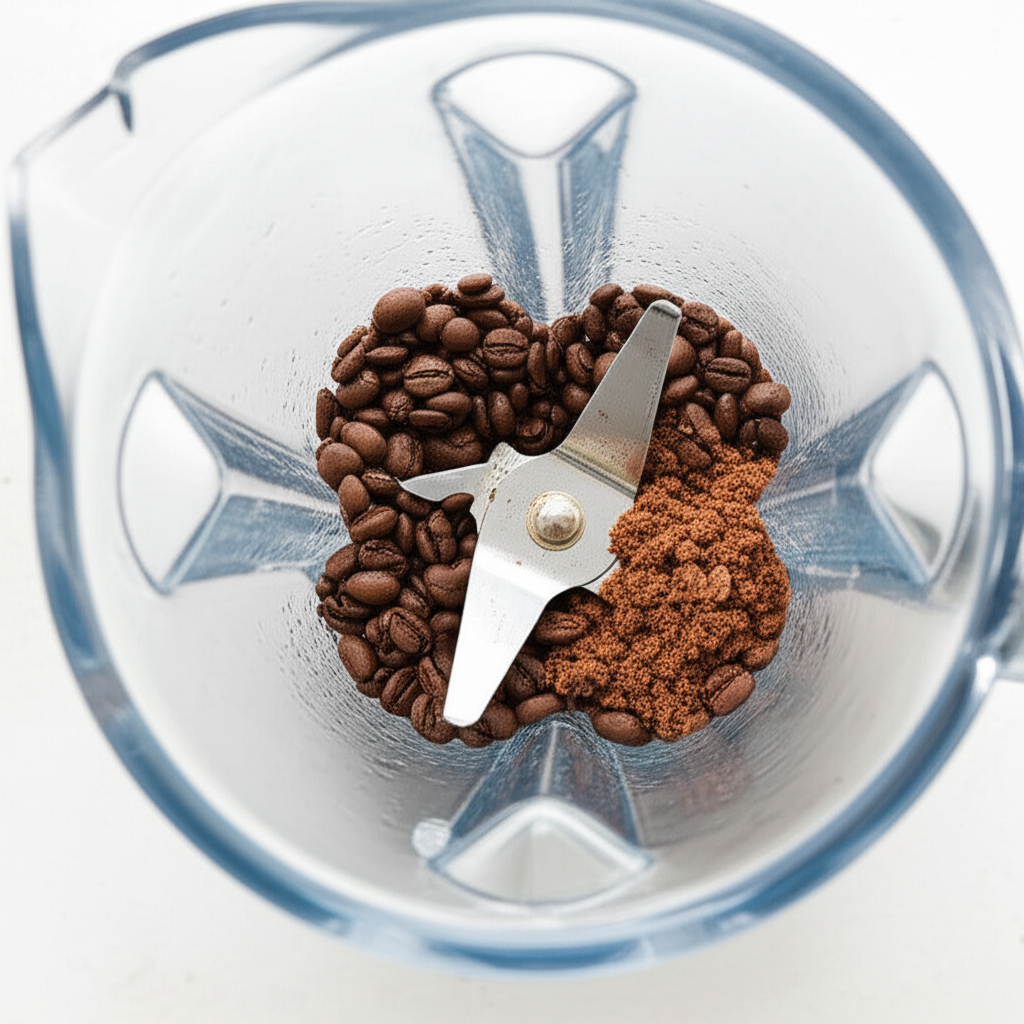
While you can grind coffee beans in a blender, the results are often less than stellar compared to a dedicated grinder. The main culprit is inconsistency.
Inconsistent Grind Size
Blenders are designed to chop and liquefy, not to mill. The spinning blades create a chaotic vortex, where some beans get pulverized into fine dust while others remain large chunks. This uneven particle size leads to uneven extraction during brewing. The fine particles can over-extract, leading to bitterness, while the coarse particles under-extract, resulting in a weak, sour taste. This is why coffee experts emphasize the importance of uniform grind size for the best flavor.
Heat Generation
Running a blender for extended periods, even in short bursts, can generate heat. Coffee beans are sensitive to heat, and excessive warmth during grinding can begin to “cook” the beans, negatively impacting their delicate aromas and flavors. This is a subtle but significant factor that dedicated grinders, especially burr grinders, minimize.
Coffee Oils and Residue
Coffee beans, especially darker roasts, contain oils. These oils can cling to the blender blades and jar, leaving behind a residue. This residue can impart a coffee flavor to future smoothies or other blended items, which is usually undesirable. Thorough cleaning is absolutely essential, but sometimes the oils can be stubborn.
Wear and Tear on Your Blender
Grinding hard coffee beans puts a strain on your blender’s motor and blades. While occasional use is unlikely to cause significant damage, frequent grinding of coffee beans can shorten the lifespan of your appliance, especially if it’s not a high-powered model.
Grind Size Matters: A Visual Guide
The coarseness of your coffee grind significantly impacts how well your coffee brews. Using a blender makes it difficult to achieve the precise grind needed for different brewing methods. Here’s a general idea of what you’re aiming for:
| Brewing Method | Target Grind Size | Visual Description | Blender Grind Result (Likely) |
|---|---|---|---|
| Espresso | Extra Fine | Like powdered sugar or flour | Very difficult to achieve consistently; likely a mix of powder and small grit |
| Drip Coffee / Pour-Over | Medium | Like table salt or coarse sand | Often a mix of fine dust and larger chunks; difficult to control |
| French Press / Cold Brew | Coarse | Like breadcrumbs or coarse sea salt | May produce some coarser pieces, but usually mixed with finer particles |
When is Using a Blender for Coffee Grinding Acceptable?
There are a few scenarios where using a blender to grind coffee beans might be your only practical option:
- Emergency Situations: You absolutely need a cup of coffee now, and your grinder is out of commission.
- Infrequent Use: You only drink whole bean coffee very occasionally and don’t want to invest in a separate grinder.
- Travel: You’re traveling and have whole beans but no grinder.
- Recipe Needs: A specific recipe calls for a small amount of ground coffee, and a blender is the most convenient tool available.
Alternatives to Blending Your Coffee Beans
If you’re serious about enjoying the best possible cup of coffee, investing in a dedicated coffee grinder is highly recommended. Here are your best options:
Blade Coffee Grinders
These are more affordable than burr grinders and are a significant step up from using a blender. They still use blades to chop beans, but they are designed for coffee and often offer more control over the grinding time, leading to a more consistent grind than a typical kitchen blender.
Burr Coffee Grinders
These are the gold standard for home coffee grinding. They crush beans between two revolving abrasive surfaces (burrs), providing a very uniform grind size. This consistency is key to unlocking the full flavor potential of your coffee beans. Burr grinders come in manual (hand-crank) and electric versions, with electric ones offering convenience and adjustable grind settings.
According to the Specialty Coffee Association (SCA), grind consistency is paramount for achieving optimal flavor extraction in coffee brewing. Using a burr grinder is one of the most impactful ways to improve your home coffee experience.
Manual Grinders
For budget-conscious individuals or those who enjoy a more hands-on approach, manual burr grinders are an excellent choice. They require some physical effort to turn the crank, but they produce excellent, consistent grinds and are very portable.
Pro Tips for Grinding Coffee in a Blender
If you must use your blender, here are a few extra tips to maximize your chances of a decent grind and minimize the downsides:
- Use Cold Beans: Slightly chilled beans are a bit harder and may grind more evenly.
- Don’t Overload: Grind in very small batches. It’s better to do multiple small grinds than one large, uneven one.
- Clean Thoroughly: After grinding, immediately rinse the blender jar and blades. Use a small brush to get into crevices and remove all coffee residue and oils. A drop of dish soap and a quick pulse with warm water can help.
- Consider Your Roast: Lighter roasts are harder and drier, potentially grinding a bit more evenly than very oily, dark roasts which can gum up blades.
The Impact of Grind Size on Your Coffee
The way you grind your coffee beans directly influences the final taste in your cup. This is because the surface area of the coffee grounds dictates how quickly and evenly water can extract the soluble compounds that give coffee its flavor and aroma. Here’s a breakdown:
Under-extraction (Too Coarse Grind)
If your coffee tastes weak, sour, or lacks sweetness, you might be experiencing under-extraction. This happens when the coffee grounds are too large for the brewing time and water temperature. The water can’t efficiently pull out all the desirable flavors. Using a blender can sometimes result in larger, uneven chunks, leading to this issue.
Over-extraction (Too Fine Grind)
Conversely, if your coffee tastes bitter, harsh, or astringent, it’s likely over-extracted. This occurs when the coffee grounds are too fine, allowing water to extract too many compounds, including the bitter ones. A blender’s tendency to create fine dust alongside larger particles can easily lead to over-extraction, especially if you’re not careful.
The Sweet Spot (Consistent Medium Grind)
For most popular brewing methods like drip coffee makers or pour-over, a medium grind is ideal. It offers a balanced extraction, yielding a cup that is neither too sour nor too bitter, but rather rich and flavorful. Achieving this consistency is where dedicated coffee grinders truly shine.
Frequently Asked Questions About Grinding Coffee in a Blender
Q1: Can I grind espresso beans in a blender?
A1: It’s highly not recommended. Espresso requires an extra-fine, very consistent grind. A blender will almost certainly produce an uneven mix of powder and larger particles, making it impossible to pull a good espresso shot and likely leading to bitter, unpleasant results.
Q2: How long should I pulse the blender to grind coffee?
A2: Start with very short pulses of 1-2 seconds. Shake the blender between pulses. You’ll likely need to pulse several times, checking the consistency after each set. The total time will be very short, maybe 10-20 seconds of actual blending, spread out over a minute or two.
Q3: Will grinding coffee damage my blender?
A3: While occasional use is unlikely to cause major damage, frequent grinding of hard coffee beans can put a strain on your blender’s motor and blades, potentially shortening its lifespan. High-powered blenders are more capable, but it’s still not their intended use.
Q4: What if my blender doesn’t have a pulse function?
A4: If your blender only has continuous speeds, you’ll need to be extra careful. Turn it on for just a second or two at a time, then immediately turn it off. It’s much harder to control the grind size this way and increases the risk of overheating or pulverizing the beans too much.
Q5: How do I clean coffee residue from my blender?
A5: Rinse immediately after use. Fill the blender jar halfway with warm water, add a drop of dish soap, and blend on low speed for 30 seconds. Rinse thoroughly. For stubborn oils, you can blend a paste of baking soda and water, or even grind a small amount of uncooked rice before washing.
Q6: Can I grind flavored coffee beans in a blender?
A6: It’s generally best to avoid grinding strongly flavored or oily beans in a blender. The oils can be difficult to remove completely, potentially transferring flavors to your future blends. If you do grind them, be extra diligent with cleaning.
Conclusion: Your Blender is a Backup, Not a Best Friend for Coffee
So, can you use a blender to grind coffee beans? Yes, in a pinch, it’s a functional workaround. You can achieve a grind that, with careful pulsing and shaking, might be passable for your morning cup. However, the “shocking truth” is that the inconsistent grind size and potential for heat generation mean you’re unlikely to get the best possible flavor from your beans. For consistently delicious coffee that truly shines, investing in a dedicated coffee grinder—whether it’s a simple blade grinder, a manual burr grinder, or a high-end electric model—is the best path forward. Your blender is fantastic for smoothies, but for that perfect cup of coffee, a specialized tool makes all the difference.
smartblander.com is a participant in the Amazon Services LLC Associates Program, an affiliate advertising program. As an Amazon Associate, we earn from qualifying purchases made through our links.