

Can I Use A Blender Instead Of A Juicer? The Shocking Truth Revealed!
Yes, you can absolutely use a blender instead of a juicer to make delicious, nutrient-rich drinks! While a blender creates a thicker smoothie by including the fiber, you can easily adapt it to make juice-like beverages by straining out the pulp. It’s a versatile kitchen tool that can unlock fresh, homemade goodness without needing a dedicated juicer.
Key Takeaways
- Blend fruits and vegetables for a nutrient boost.
- Strain blended mixtures for juice-like consistency.
- Adjust liquid for desired thickness.
- Clean your blender thoroughly after each use.
- Experiment with various produce combinations.
- Enjoy homemade beverages with minimal equipment.
Thinking about diving into the world of fresh, homemade juices? It’s a fantastic way to boost your nutrition and enjoy vibrant flavors. But then the question pops up: do you really need a special juicer? What if you already have a trusty blender sitting on your counter? This is a common question for many beginners, and it can feel a bit confusing. You might wonder if a blender can truly do the job of a juicer, or if you’ll end up with a disappointing, pulpy mess. Don’t worry! This guide is here to clear things up. We’ll show you exactly how you can use your blender to make amazing juice-like drinks, step by step. Get ready to unlock the full potential of your kitchen appliance!
Blender vs. Juicer: Understanding the Core Difference
Before we jump into using your blender for juice, let’s quickly understand what makes a juicer different. A juicer’s main job is to extract the liquid from fruits and vegetables. It separates the juice from the pulp (the fibrous material). There are two main types of juicers: centrifugal and masticating (or cold-press). Centrifugal juicers spin rapidly to separate juice. Masticating juicers use a slow-grinding process to squeeze out the juice. Both methods result in a clear liquid with minimal pulp. This process removes most of the fiber.
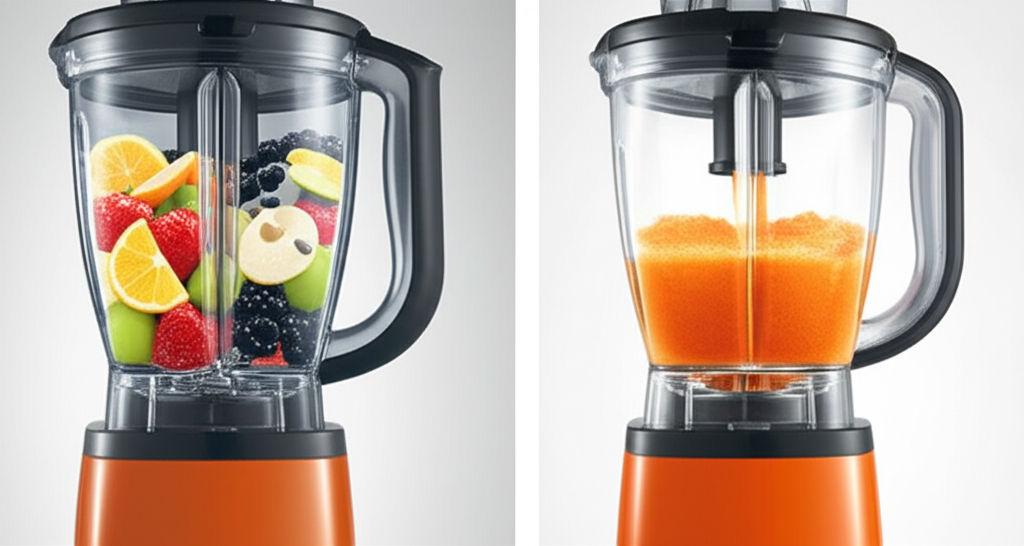
A blender, on the other hand, pulverizes everything. When you blend fruits and vegetables, the blades chop them up very finely, incorporating all the fiber into the mixture. This results in a thicker drink, which we commonly call a smoothie. Smoothies are incredibly nutritious because they retain all the beneficial fiber, which aids digestion and helps you feel fuller for longer. So, while a blender doesn’t “juice” in the traditional sense, it processes the produce in a way that can be adapted.
Can You Really Make Juice With a Blender? The Process Explained
The short answer is yes! You can achieve a juice-like beverage using a blender, but it requires an extra step: straining. Think of it as making a smoothie and then refining it. Here’s how it works:
Step 1: Choose Your Produce Wisely
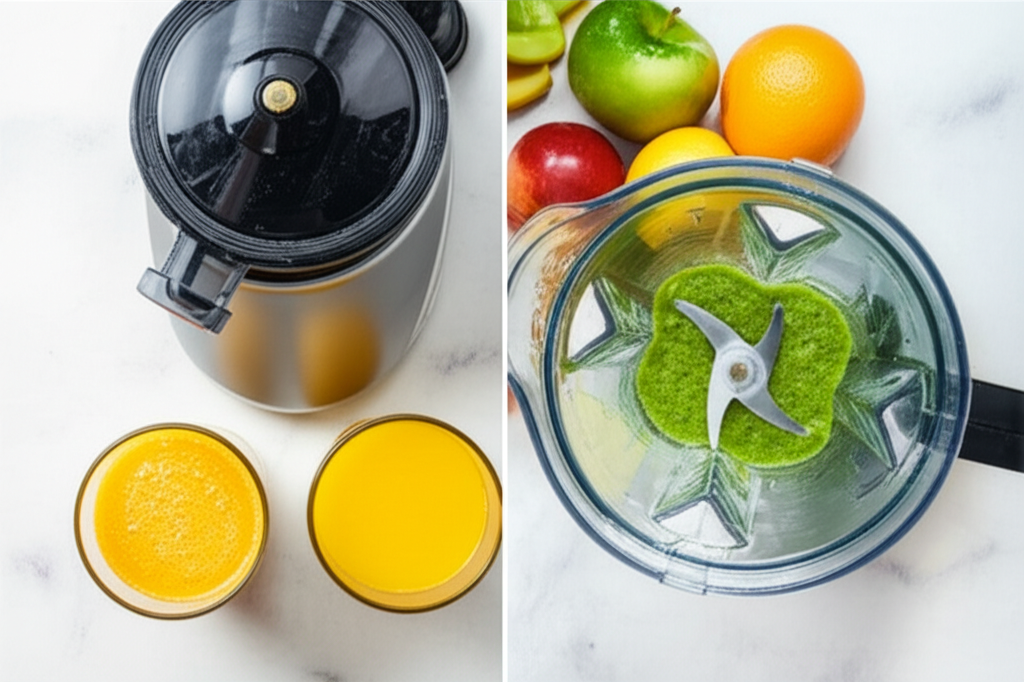
Just like with juicing, the quality of your ingredients matters. Opt for fresh, ripe fruits and vegetables. Softer fruits like berries, bananas, and mangoes blend easily. For vegetables, leafy greens like spinach and kale work well. Harder items like carrots or beets can be used, but you might need a high-powered blender or to chop them into smaller pieces.
Step 2: Prepare Your Ingredients
Wash all your produce thoroughly. Remove any large pits, seeds, or tough skins that you don’t want in your drink. For harder items like carrots, you might want to cut them into smaller chunks to make blending easier on your appliance.
Step 3: Blend Your Mixture
Place your prepared fruits and vegetables into the blender. Add a liquid base. This could be water, coconut water, or even a splash of juice from another fruit (like orange juice) to help things get moving. Start blending on a low speed and gradually increase to high. Blend until the mixture is as smooth as possible. For a juice-like consistency, you want it very well pureed.
Step 4: Strain for Clarity (The Crucial Step!)
This is where the magic happens for turning your blended mixture into something resembling juice. You have a couple of options for straining:
- Nut Milk Bag: This is often the most effective tool. Place the nut milk bag over a bowl or pitcher. Pour the blended mixture into the bag. Gently squeeze the bag to press the liquid through, leaving the pulp behind.
- Fine-Mesh Sieve/Strainer: Line a fine-mesh sieve with a piece of cheesecloth or a nut milk bag. Place this over a bowl. Pour the blended mixture into the sieve. You might need to use a spoon or spatula to help push the liquid through.
- Cheesecloth: Fold several layers of cheesecloth and place it in a sieve or directly over a bowl. Pour your blended mixture onto the cheesecloth. Gather the edges of the cheesecloth and twist, then squeeze to extract the juice.
Be patient during this step. It can take a little time and effort, especially if you have a lot of fibrous ingredients.
Step 5: Adjust and Serve
Taste your strained liquid. You can add a little more water or liquid if it’s too thick. If you prefer it sweeter, add a touch of honey, maple syrup, or a sweet fruit like a date. Pour into a glass and enjoy your homemade “juice” immediately for the best flavor and nutrient content.
Comparing Blender-Made Juice and Juicer Juice
It’s helpful to know what to expect when you use a blender versus a juicer. Here’s a quick comparison:
| Feature | Blender (Strained) | Juicer |
|---|---|---|
| Texture | Smoother, less pulpy than a smoothie, but may retain slight cloudiness or micro-pulp. | Clear, smooth liquid with very little to no pulp. |
| Fiber Content | Most fiber is removed during straining, but some may remain. | Almost all fiber is removed. |
| Nutrient Profile | Retains most vitamins and minerals from the liquid. May lose some water-soluble nutrients trapped in pulp. | Highly concentrated liquid vitamins and minerals. |
| Preparation Time | Can be quicker if you already have a blender. Straining adds extra time. | Can be faster for pure juice extraction, but prep is still needed. |
| Cleanup | Blender carafe, blades, and straining tools require cleaning. | Blender carafe, blades, and straining tools require cleaning. |
| Cost of Equipment | Blenders are versatile and common kitchen appliances. | Juicers are specialized appliances and can be costly. |
| Versatility | Blenders make smoothies, soups, sauces, and more. | Primarily used for juicing. |
When is a Blender the Better Choice?
While a dedicated juicer offers a specific type of output, a blender shines in several scenarios, especially for beginners:
- Budget-Conscious Beginners: If you’re just starting and not sure if juicing is for you, using your existing blender is a cost-effective way to experiment. Dedicated juicers can range from $50 to $500 or more.
- Versatility is Key: If you want an appliance that does more than just juice, a blender is a fantastic investment. It can make smoothies, protein shakes, soups, sauces, dips, and even nut butters.
- You Don’t Mind a Little Fiber: If you’re okay with a slightly less clear liquid or don’t mind the extra step of straining, a blender works well.
- Making “Juice” for Recipes: Sometimes recipes call for a specific amount of liquid from fruits or vegetables. A blender makes it easy to create this base.
- When You Want a Smoothie Anyway: Often, the line between a “blender juice” and a smoothie is blurred. If you’re happy with a thicker, fiber-rich drink, just skip the straining step!
When Might a Juicer Be Preferred?
There are still reasons why a juicer might be your preferred tool:
- Pure, Clear Juice: If your heart is set on the crisp, clear texture of traditional juice with absolutely no pulp, a juicer is the way to go.
- Maximizing Yield from Certain Produce: Some juicers, especially masticating ones, are incredibly efficient at extracting juice from leafy greens and fibrous vegetables, yielding more liquid than a blender might in comparison. For example, a study by the American Nutrition Association highlights the importance of nutrient-dense juices.
- Less Preparation Effort for Pure Juice: While both require prep, a juicer is designed to process produce directly into juice with less manual straining involved in the final product.
- Specific Health Goals: For certain detoxes or dietary plans that strictly require clear juice, a juicer is indispensable.
Pro Tips for Blender “Juicing” Success
Pro Tip: For the smoothest results when straining, blend your ingredients with a bit of liquid first. Then, pour the mixture into your nut milk bag or sieve and give it a good squeeze. Don’t be afraid to really work the pulp to get every last drop of delicious liquid out!
Best Fruits and Vegetables for Blender “Juicing”
Some produce items lend themselves better to the blender-and-strain method. Here are some great choices to start with:
Fruits:
- Berries: Strawberries, blueberries, raspberries. They blend easily and have great flavor.
- Citrus: Oranges, grapefruit (peeled and seeded).
- Melons: Watermelon, cantaloupe, honeydew (seeds removed).
- Apples: Core removed, cut into chunks.
- Pineapple: Peeled and cored.
- Mangoes and Peaches: Pitted.
Vegetables:
- Leafy Greens: Spinach, kale, romaine lettuce. Blend these with a liquid first for best results.
- Cucumbers: Hydrating and blend well.
- Celery: Adds a refreshing taste and blends easily.
- Ginger and Turmeric Root: Use in small amounts for a spicy kick.
Harder vegetables like carrots, beets, and celery stalks can be used, but you might need a high-powered blender or to cut them into very small pieces. They also tend to leave more pulp, so straining is essential.
Simple Blender “Juice” Recipes for Beginners
Ready to try it out? Here are a couple of easy recipes to get you started:
Recipe 1: Refreshing Green Power Drink
This is a great entry point to green “juices.”
- 1 cup chopped cucumber
- 1 cup spinach
- 1/2 green apple, cored and chopped
- 1/4 lemon, peeled
- 1/2 cup water or coconut water
Instructions: Blend all ingredients until very smooth. Strain through a nut milk bag or fine-mesh sieve lined with cheesecloth. Serve immediately.
Recipe 2: Sweet Berry Blast
A naturally sweet and vibrant option.
- 1 cup mixed berries (fresh or frozen)
- 1/2 cup chopped strawberries
- 1/2 cup water or unsweetened almond milk
- 1 small piece of ginger (about 1/2 inch), peeled
Instructions: Blend all ingredients until smooth. For a clearer “juice,” strain the mixture. If you prefer a smoothie, enjoy as is!
Maintaining Your Blender and Straining Tools
Proper cleaning is crucial for any kitchen appliance, especially when dealing with fresh produce. After each use:
- Blender: Rinse the blender carafe, lid, and blade assembly immediately. For a quick clean, add a drop of dish soap and some warm water to the carafe, put the lid on, and blend for 30 seconds. Rinse thoroughly. For a deeper clean, disassemble if possible and wash with warm, soapy water.
- Straining Tools: Nut milk bags and cheesecloth should be rinsed thoroughly after use. Wash them with mild soap and water, then hang them to air dry completely to prevent mildew. Fine-mesh sieves can be washed with a soft brush to remove any trapped pulp.
Regular maintenance ensures your equipment lasts longer and your homemade drinks are always fresh and safe to consume. According to the USDA’s food safety guidelines, keeping your kitchen tools clean is paramount for preventing foodborne illnesses.
Frequently Asked Questions (FAQ)
Q1: Will my blender make my juice taste like a smoothie?
When you strain the blended mixture, you remove most of the pulp, resulting in a liquid much closer to juice. However, it might still be slightly less clear or have a hint of thicker texture than juice made with a dedicated juicer, depending on how well you strain it.
Q2: What kind of blender is best for making juice?
While any blender can work, a high-powered blender (like Vitamix or Blendtec) will pulverize ingredients more finely, making straining easier and yielding a smoother liquid. However, even standard blenders can produce good results with a little extra effort during the straining phase.
Q3: How much pulp will be left after straining?
This varies depending on the ingredients and your straining method. Leafy greens and fibrous vegetables like celery will leave more pulp than softer fruits like berries or melon. Using a nut milk bag or multiple layers of cheesecloth will capture more pulp than a simple fine-mesh sieve.
Q4: Can I reuse the pulp from my blender “juicing”?
Yes! The pulp you strain out is full of fiber and nutrients. You can add it to baked goods like muffins or bread, compost it, or even use it to make veggie broth. It’s a great way to reduce food waste.
Q5: How long does blender-made juice last?
Like juice made with a juicer, blender-made juice is best consumed fresh, ideally within 24-48 hours. Store it in an airtight container in the refrigerator. The nutrients begin to degrade once exposed to air and light.
Q6: What if I don’t have a nut milk bag or cheesecloth?
You can try using a very fine-mesh sieve. For even better results, you can line the sieve with a clean, thin kitchen towel or even a coffee filter (though coffee filters can be slow and might tear). Be prepared for a potentially less efficient straining process.
Conclusion
So, can you use a blender instead of a juicer? Absolutely! While the process is slightly different, requiring an extra step of straining, your blender is a capable tool for creating delicious, nutrient-packed beverages that mimic fresh juice. It’s a fantastic, accessible option for beginners looking to incorporate more fruits and vegetables into their diet without investing in specialized equipment. You get the vibrant flavors and health benefits, with the flexibility to make smoothies too. Experiment with different combinations, enjoy the process, and savor the goodness of homemade drinks!
smartblander.com is a participant in the Amazon Services LLC Associates Program, an affiliate advertising program. As an Amazon Associate, we earn from qualifying purchases made through our links.