

Making delicious, fresh apple juice without a blender is surprisingly simple! This easy method uses basic kitchen tools to extract pure, natural goodness from apples, perfect for beginners wanting healthy, homemade drinks.
Key Takeaways
- Extract pure apple juice easily.
- Use common kitchen tools.
- Enjoy fresh, healthy drinks.
- Avoid added sugars and preservatives.
- Impress friends with homemade juice.
- Boost your daily fruit intake.
How To Make Apple Juice Without A Blender: The Easy Method
Many people think you need a fancy juicer or a powerful blender to enjoy fresh apple juice. This often stops beginners from even trying! But what if I told you that you can make wonderfully crisp, refreshing apple juice using just a few simple items you probably already have in your kitchen? It’s true! This guide will walk you through an easy, step-by-step process. You’ll be sipping on your own homemade apple nectar in no time. Let’s get started and unlock the simple joy of fresh juice!
Why Make Apple Juice At Home?
Making apple juice at home, especially without special equipment, offers a wealth of benefits. Store-bought juices often contain added sugars, preservatives, and artificial flavors that can detract from the natural goodness of the fruit. By making your own, you have complete control over the ingredients. This means a purer, healthier beverage for you and your family. Plus, the satisfaction of creating something delicious and nutritious with your own hands is incredibly rewarding. It’s a fantastic way to ensure you’re consuming vitamins and natural sugars directly from the source. Apples are a good source of dietary fiber and vitamin C, which are essential for a healthy diet.
Furthermore, the process itself can be quite therapeutic. The aroma of fresh apples, the simple act of preparing them, and the final delicious result all contribute to a positive experience. It’s a great activity to do with kids, teaching them about where food comes from and the importance of healthy eating. And let’s not forget the cost savings! Making juice at home can be significantly more economical than buying pre-packaged juices, especially if you have access to fresh, local apples.
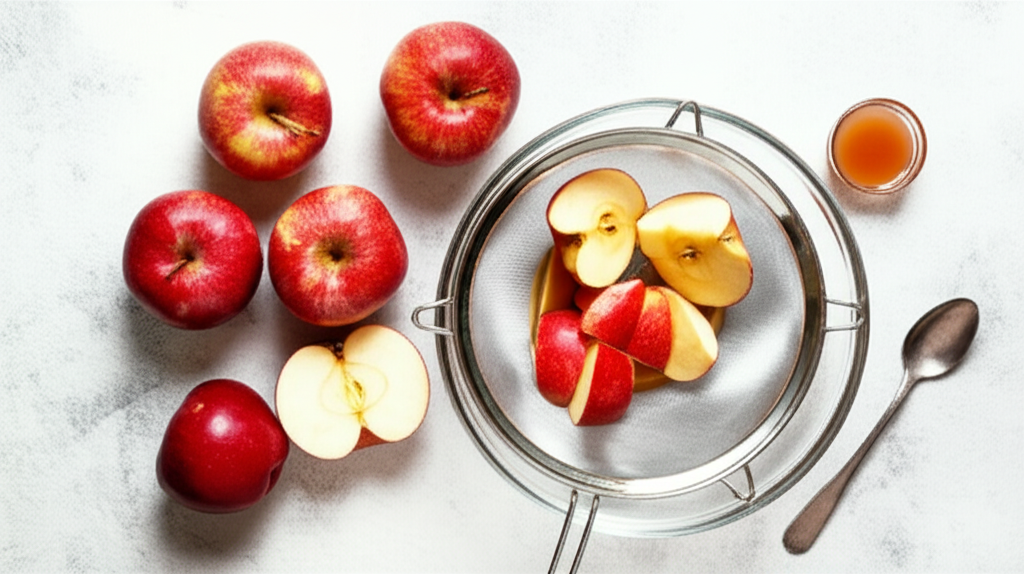
Gathering Your Simple Tools
The beauty of this method lies in its simplicity. You don’t need to invest in expensive machinery. Here’s a look at the essential tools you’ll need to make delicious apple juice without a blender:
- Apples: The star of the show!
- Knife: For cutting the apples.
- Cutting Board: A stable surface for chopping.
- Pot or Saucepan: To soften the apples.
- Potato Masher or Large Fork: To mash the softened apples.
- Fine-Mesh Sieve or Colander: To strain the pulp.
- Cheesecloth or Nut Milk Bag: For a smoother juice.
- Bowl or Pitcher: To collect the juice.
- Spoon: To help push pulp through the sieve.
Having these items readily available will make the process smooth and enjoyable. It’s amazing how efficiently you can extract juice with such basic equipment.
Choosing the Best Apples for Juicing
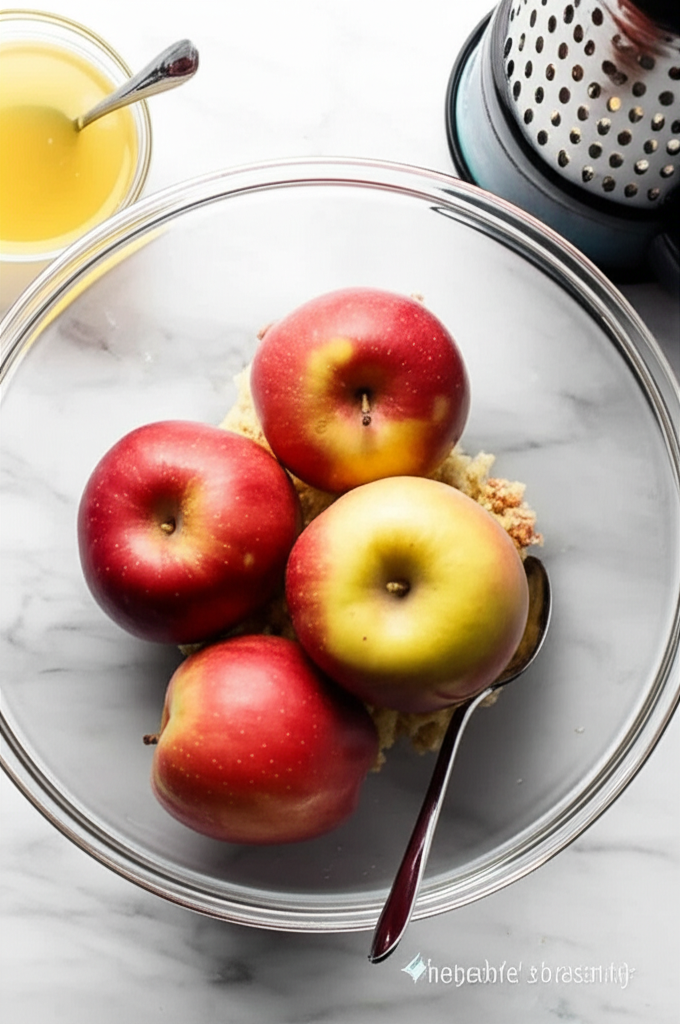
Not all apples are created equal when it comes to juicing. For the best flavor and yield, consider using a mix of apple varieties. Sweeter apples like Fuji, Gala, or Honeycrisp will give your juice a natural sweetness, reducing the need for any added sweeteners. Tart apples like Granny Smith add a refreshing tang and can balance out the sweetness of other varieties. Using a combination can create a more complex and enjoyable flavor profile.
When selecting your apples, look for firm, ripe fruit. Avoid apples that are bruised, soft, or have blemishes, as these can affect the taste and quality of your juice. Washing your apples thoroughly is also crucial to remove any dirt or pesticides. If you have the option, organic apples are a great choice for ensuring the purest juice. The type of apple will significantly impact the final taste, so experiment with different combinations to find your perfect blend!
The Easy Step-by-Step Method
Ready to get started? This method focuses on softening the apples to make extraction easier. It’s a gentle approach that yields a wonderful, clear juice.
Step 1: Prepare the Apples
Wash your apples thoroughly under cool running water. You can peel them if you prefer a smoother juice without any skin particles, but leaving the skin on adds extra nutrients and fiber. Core the apples and cut them into roughly equal-sized chunks. You don’t need to be precise, just aim for pieces that will fit comfortably in your pot.
Step 2: Soften the Apples
Place the apple chunks into a pot or saucepan. Add just enough water to cover the bottom of the pot, about half an inch to an inch. This prevents the apples from sticking and burning. Cover the pot and simmer over medium-low heat for about 10-15 minutes, or until the apples are tender when pierced with a fork. You want them soft enough to mash easily, but not so mushy that they turn into applesauce.
Step 3: Mash the Cooked Apples
Once the apples are tender, remove the pot from the heat. Use a potato masher or a large fork to mash the softened apple chunks directly in the pot. Break them down as much as possible. This process helps to release the juice from the fruit’s pulp.
Step 4: Strain the Juice
Place a fine-mesh sieve or colander over a large bowl or pitcher. If you want an exceptionally clear juice, line the sieve with a double layer of cheesecloth or a nut milk bag. Carefully spoon the mashed apple mixture into the sieve. Allow the juice to drip through naturally. For faster results, you can gently press down on the pulp with the back of a spoon. Be patient; this step can take some time.
Step 5: Extract Remaining Juice (Optional but Recommended)
Once the free-flowing juice has drained, you can extract more from the pulp. If using cheesecloth or a nut milk bag, gather the edges and gently twist to squeeze out as much liquid as possible. If using just a sieve, you can press the pulp more firmly with your spoon. Be aware that pressing too hard might push some finer pulp through, making the juice cloudier.
Step 6: Chill and Serve
You now have fresh, homemade apple juice! For the best flavor, chill the juice in the refrigerator for at least an hour. Serve it chilled, perhaps over ice. You can also add a squeeze of lemon or a pinch of cinnamon for extra flavor if desired.
Variations and Flavor Boosts
While plain apple juice is delicious on its own, don’t be afraid to get creative! Here are some ideas to enhance your homemade apple juice:
- Spiced Apple Juice: Add a cinnamon stick, a few cloves, or a star anise to the pot while the apples are simmering. This infuses a warm, cozy flavor perfect for cooler months.
- Apple-Pear Nectar: Combine half apples and half ripe pears in the pot for a subtly different, sweet flavor.
- Citrus Zest: Add a strip of lemon or orange peel to the simmering apples for a bright, zesty note.
- Ginger Kick: Simmer a small piece of fresh ginger (peeled) with the apples for a warming, slightly spicy juice.
These variations allow you to tailor the juice to your taste preferences and explore a range of delightful flavors. Remember, the key is to start with good quality apples for the best base flavor.
Yield and Nutritional Considerations
The amount of juice you get will depend on the type and juiciness of the apples you use. On average, about 2-3 medium apples will yield approximately 1 cup (8 ounces) of juice. While this method is efficient for extracting liquid, it’s important to remember that much of the apple’s fiber is left behind in the pulp. However, the juice itself is still a great source of vitamins and natural sugars.
According to the USDA FoodData Central, 1 cup of raw apple juice contains about 114 calories, 0 grams of fat, 28 grams of carbohydrates, and 24 grams of sugar. It also provides a good amount of Vitamin C. While it’s a healthy choice, it’s best enjoyed in moderation as part of a balanced diet. The pulp left over can be used in baked goods, composted, or even fed to animals.
Comparing Methods: Blender vs. No Blender
It’s helpful to understand how this no-blender method stacks up against using a blender or a dedicated juicer. Each has its pros and cons:
| Method | Pros | Cons | Best For |
|---|---|---|---|
| No Blender (Simmer & Strain) | Uses minimal equipment, easy to clean, yields clear juice, cost-effective. | Requires cooking time, slightly more manual effort, may yield less juice than a juicer. | Beginners, small batches, those without kitchen gadgets. |
| Blender | Fast pulp breakdown, can handle softer fruits and veggies, versatile for smoothies. | Requires a powerful blender, juice can be pulpy unless strained extensively, more cleaning. | Those who want to blend other ingredients, quick juice if a good strainer is used. |
| Dedicated Juicer | High juice yield, fast, efficient, often separates pulp well. | Expensive equipment, can be difficult to clean, takes up counter space. | Frequent juicers, those seeking maximum yield and efficiency. |
As you can see, the simmer-and-strain method offers a fantastic entry point into homemade juicing. It’s accessible, requires no special tools, and still delivers a quality product. For anyone just starting or looking for a simpler approach, this is an excellent choice.
Pro Tips for Perfect Apple Juice
Pro Tip: For an even clearer juice, after the initial straining, you can strain it a second time through fresh cheesecloth or a clean, tightly woven kitchen towel. Gently wring out the liquid. This extra step removes finer pulp particles and results in a beautifully clear, almost sparkling juice.
Storage and Shelf Life
Freshly made apple juice is best consumed immediately, but it can be stored for a short period. Once your juice is strained and chilled, transfer it to an airtight container, such as a glass bottle or jar. Store it in the refrigerator. Properly stored, homemade apple juice typically lasts for about 2 to 3 days. The flavor and nutritional content will begin to degrade after this time.
To maximize shelf life, ensure your container is clean and the juice is cooled completely before sealing and refrigerating. Avoid storing it in the door of the refrigerator, as temperature fluctuations can be greater there. If you plan to make larger batches, consider freezing portions in ice cube trays or freezer-safe containers. Frozen apple juice can last for several months, though the texture may change slightly upon thawing. It’s a great way to have fresh apple flavor on hand year-round.
Frequently Asked Questions (FAQ)
Q1: Can I make apple juice without cooking the apples?
A1: Yes, you can! If you don’t want to cook the apples, you’d typically need a juicer or a very high-powered blender to extract raw juice effectively. Without those, cooking them first makes them soft enough to mash and strain with basic tools, which is the focus of this easy method.
Q2: How do I get more juice from the apple pulp?
A2: After the initial straining, you can gently squeeze the pulp using cheesecloth or a nut milk bag. Pressing firmly with a spoon in the sieve also helps, but be mindful that this can push more pulp through, resulting in a cloudier juice. Letting it sit and drip for longer also yields more liquid.
Q3: What can I do with the leftover apple pulp?
A3: Don’t throw away that pulp! It’s full of fiber. You can add it to muffin batter, pancake mix, oatmeal, or even use it as a base for apple sauce. It’s also great for composting to enrich your garden soil.
Q4: Is homemade apple juice healthier than store-bought?
A4: Generally, yes! Homemade apple juice allows you to avoid added sugars, preservatives, and artificial colors often found in commercial versions. You control exactly what goes into it, making it a purer, more natural option. It also retains more of the fresh apple flavor.
Q5: How long does it take to make apple juice this way?
A5: The process, from preparing apples to straining, typically takes about 30-45 minutes. This includes the simmering time and the straining process. It’s a manageable amount of time for a batch of fresh, delicious juice.
Q6: Can I use any type of apple?
A6: You can use any type of apple, but a mix of sweet and tart varieties often yields the best flavor. For example, combining Honeycrisp (sweet) with Granny Smith (tart) creates a well-balanced juice. Ripe apples will give you the most juice.
Q7: Why is my apple juice cloudy?
A7: Cloudiness usually comes from fine pulp particles passing through the strainer. Using cheesecloth or a nut milk bag, and straining a second time, can help achieve a clearer juice. Also, mashing the apples too vigorously after cooking can break down the pulp more, leading to cloudier results.
Conclusion
Making apple juice without a blender is an achievable and rewarding process. This simple simmer-and-strain method proves that you don’t need fancy equipment to enjoy the pure, vibrant taste of fresh fruit. By following these easy steps, you can create a healthy, delicious beverage right in your own kitchen. You gain control over ingredients, save money, and experience the satisfaction of homemade goodness. So, gather your apples, a few basic tools, and get ready to enjoy your own batch of naturally sweet, refreshing apple juice. Happy juicing!
smartblander.com is a participant in the Amazon Services LLC Associates Program, an affiliate advertising program. As an Amazon Associate, we earn from qualifying purchases made through our links.